
- Split the health check in two: automated checks that monitoring runs every day, and physical checks a technician does on a schedule.
- Test the room the way a user will (join a call, present from a laptop, use the microphones and cameras), not just whether devices power on.
- Check the boardroom and teaching spaces most often, and standard meeting rooms monthly or quarterly depending on use.
- Record every check against the room and asset; a failed item should raise a ticket, not stay on a clipboard.
An AV system health check is a routine for finding faults before users do. It is a defined set of checks on each room's equipment, run on a schedule, with the results recorded against the room so failures become work rather than notes on a clipboard. It sits between commissioning, which proves a new system works once, and preventative maintenance, which keeps it working for years.
The biggest change in recent years is that half of a health check no longer needs a person. Networked equipment can be checked automatically every morning; what's left for the technician is the physical and experiential part no sensor can do. This checklist separates the two.
The automated half: what monitoring checks every day
If your rooms are monitored, these checks run without anyone visiting, ideally as a wakeup check before the working day, and continuously after that:
- Every networked device is reachable: displays, projectors, DSPs, control processors, touch panels, cameras, codecs.
- Projectors and displays report no error flags and are in the expected power state.
- Lamp or light-source hours and filter hours are within the service interval.
- The DSP or audio core is running its design with no faults reported.
- The control processor is online and its touch panels are connected.
- Cameras are reachable and streaming.
- Video conferencing rooms report healthy in their vendor cloud.
- Switch uplinks are up and PoE budgets aren't exhausted.
Any failure should raise a ticket automatically. How to set that up is covered in remote AV monitoring, and projector-specific checks in remote monitoring for projectors and displays.
The hands-on checklist, room by room
These are the checks a technician does in the room, the way a user would experience it. Use the sections that apply to each room type.
Displays and projection
- Image is sharp, correctly sized and aligned, with no dead pixels, banding or colour cast.
- Projector brightness is acceptable in normal room lighting, and the lens is clean.
- Every input used in the room shows a picture, including laptop connections at the table.
- Screens, mounts and projector brackets are secure.
Audio
- Every microphone works at a normal level, with no hum, buzz or feedback.
- Program audio plays clearly from laptops and room PCs at a sensible default volume.
- Wireless microphone batteries are charged or replaced, and spares are in the room.
- Echo cancellation holds up on a real call.
Video conferencing
- Join a test call on the room's platform and from a laptop, and check audio both ways.
- Camera framing covers the table and the presenter position, and presets recall correctly.
- Content sharing works from the room system and from a laptop.
Control and connectivity
- The touch panel responds quickly, every button does what it says and presets recall correctly.
- The room booking panel shows the right room and bookings.
- Table cables (HDMI, USB-C) are present, undamaged and not stretched, and wireless presentation connects.
Power, rack and safety
- The rack is tidy, ventilated and at a normal temperature, with fans running.
- Test & Tag is current on equipment that needs it.
- Cabling is secured, with no trip hazards or damaged leads.
Room and user experience
- User instructions and the QR label for fault reporting are present and legible.
- Touch panels, lenses and remotes are clean, and remotes have working batteries.
- The furniture layout still matches the camera and microphone coverage.
How often to run an AV health check
Frequency should follow how critical the room is and how hard it is used. A reasonable starting point:
| Space | Automated checks | Hands-on check |
|---|---|---|
| Boardroom and executive suites | Daily wakeup check, continuous monitoring | Weekly |
| Lecture theatres and teaching spaces | Daily wakeup check, continuous monitoring | Before each teaching period, then monthly |
| Busy meeting rooms | Continuous monitoring | Monthly |
| Standard meeting rooms | Continuous monitoring | Quarterly |
| Event and function spaces | Before each event | Before major events, then quarterly |
| Lobby signage | Continuous monitoring | Quarterly |
Adjust from there using the data: rooms that keep generating tickets move up a tier, rooms that never do move down. The reasoning behind scheduling by criticality is in AV maintenance: a preventative program that actually sticks.
Recording results so they're useful
- Record against the room and the asset, not in a separate spreadsheet, so each result becomes part of the device's history.
- Photograph what you find (damage, cabling, the rack) and attach it to the record.
- Turn every failed item into a ticket with an owner and a due date. A failed check that stays on a form is a fault nobody is fixing.
- Track trends: which rooms fail checks most often, which items fail most, and whether the numbers go down over time.
Running the checklist in AVDesk
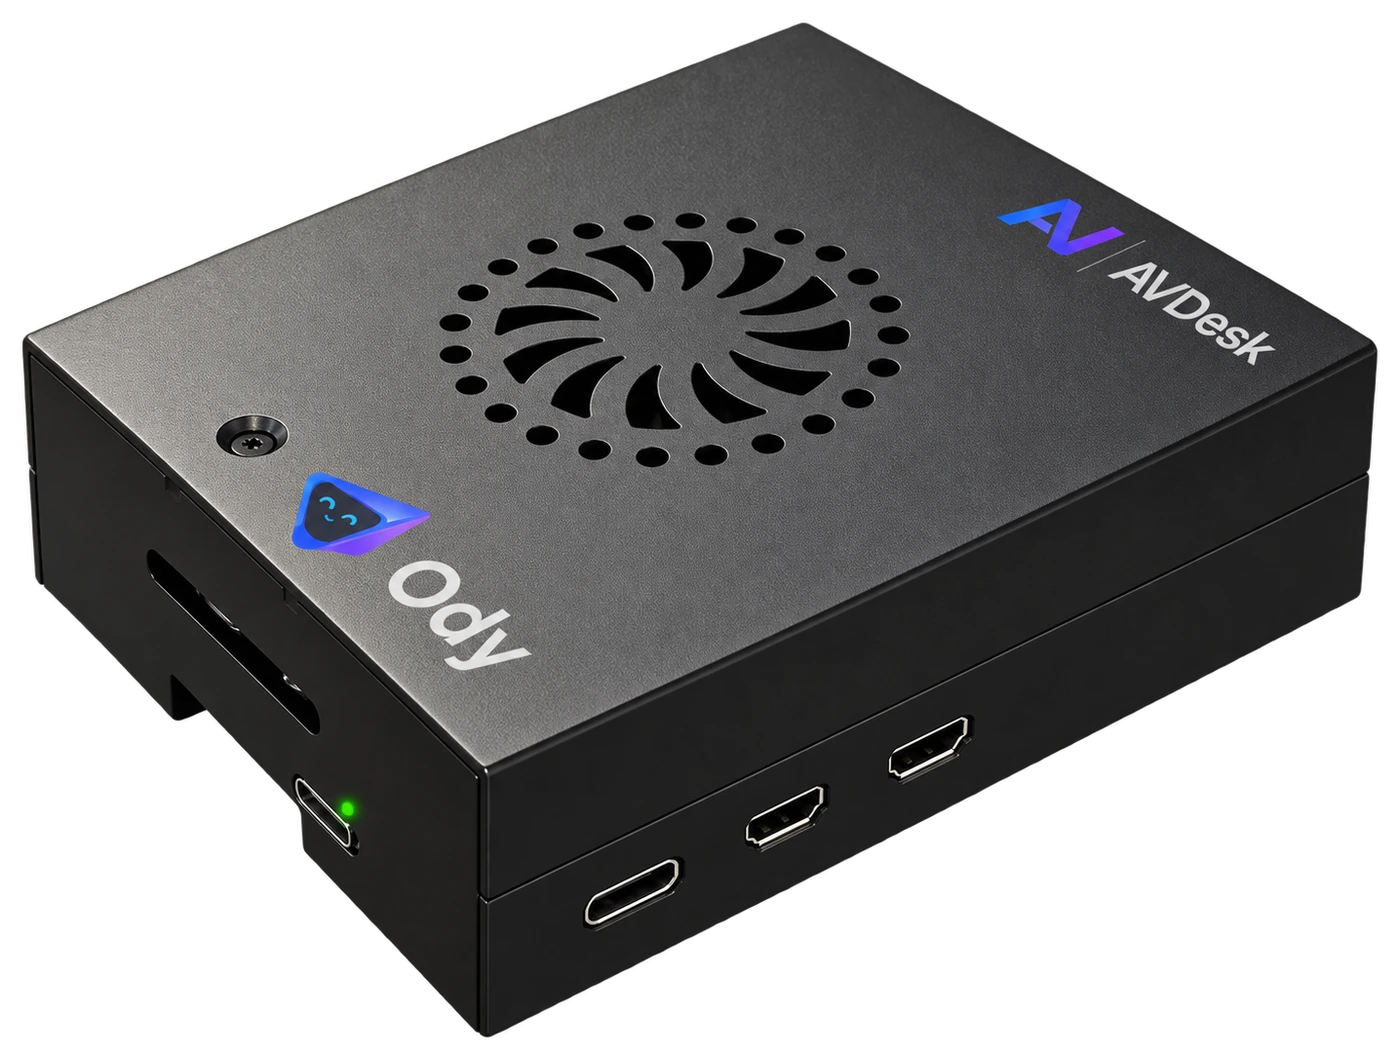
In AVDesk the automated half runs through Ody, the on-site box, with wakeup checks on the rooms you nominate and alerts raised as tickets in the AV help desk. The hands-on half runs as scheduled maintenance on each room, with checklists whose items can each be assigned and ticked off from a phone in the room, photos attached and every job closed against the asset. The dashboard shows the maintenance ahead next to open tickets and SLA status, so health checks are visible alongside the rest of the work. See how AV maintenance works are scheduled and closed, or book a demo.